
Prerequisites
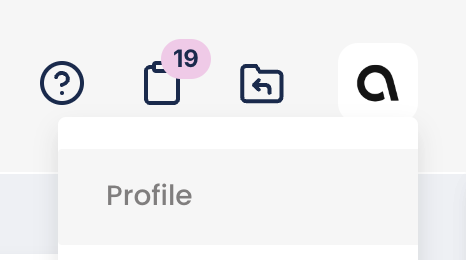
You need to have an “Owner” role in your Alexis HR instance to be able to generate new Access Tokens and set up new third party integrations. You will be able to identify whether you have the correct role by heading to your ‘Profile’ in the top right of the screen and checking what your account is tagged with.

If you do not have this role please reach out to your company’s System Admin who will be able to give you the correct access.
Step by Step Integration Instructions
Step 1 - Start the Ravio Onboarding Process
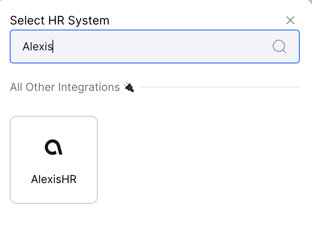
On the Ravio onboarding screen, select Connect your HR system and choose AlexisHR.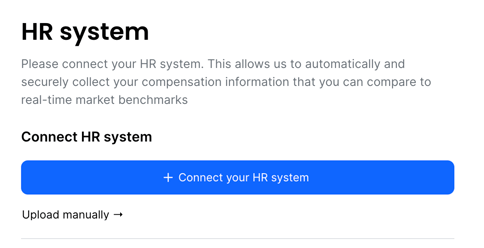
Step 2 - Create a new Access Token in Alexis
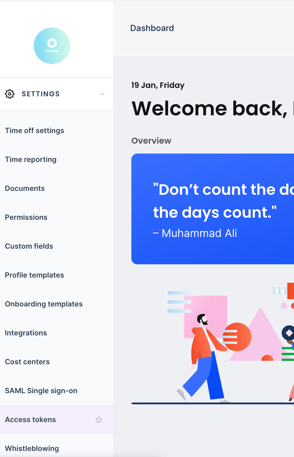
In Alexis HR, go to “Settings” in the menu on the left of the homepage and select “Access Tokens”. This is where you generate the credentials for Ravio to be able to integrate.
At the top of the page there should be two text boxes. This is where you create the credentials. Enter the Name, Description and make sure Type = Public. Then hit save.

The Access Token will then pop up in a window on your screen. Please make sure you copy and save this token somewhere. This is the only time you can see this token!
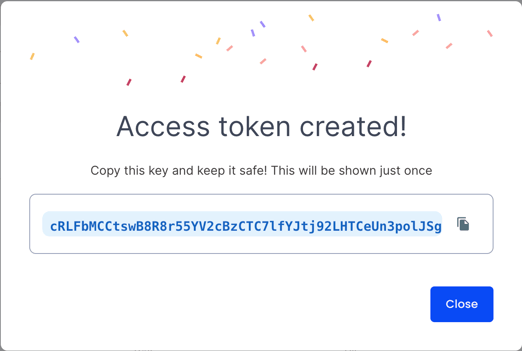
Step 3 - Add the token details into Ravio
Head back to the Ravio onboarding flow. This process may ask whether you are connecting a Sandbox or Production account. You should be integrating a Production account!
If you are integration a non-production account please let your Ravio contact know ASAP.
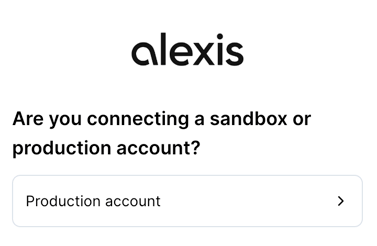
Once you have chosen ‘Production’ you will be prompted to enter the API Key that you saved in the previous step. Copy and Paste the token into Ravio & Submit.
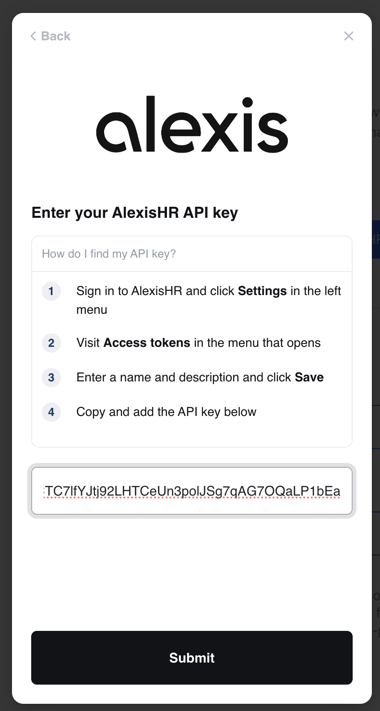
This should now work! If you see any error messages please refer to the ‘Troubleshooting’ section below this or reach out to your Ravio contact.
Troubleshooting
If your data is not pulling through correctly, check the following:
- Check that you have full admin permissions in Alexis before creating the API. This includes the permissions needed to set up APIs, as well as permissions to access Employee and Compensation attributes including salaries. If the API does not have permissions to see Employee data you will see an error message similar to below (Employee will be replaced with Compensation if that is missing).
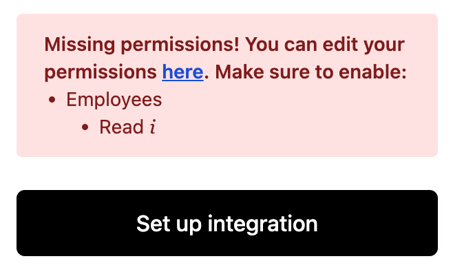
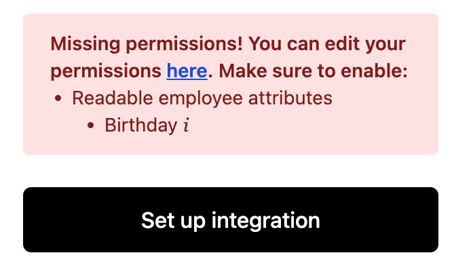
- Check that you have selected all of the fields listed above. If you have not selected the correct fields you will see an error message similar to below (in the example below the field “Birthday” is not seen by the API).
- Check that data exists within Alexis for all employees, for the fields listed above. There will be delays in the data being made available in the Ravio platform if any of the required fields are missing (e.g. Employee Salaries are missing).
Next Steps
The next steps are to share your levelling framework with Ravio and fill out the Benefits Survey in the tool. You can find guidance on how to complete both of these sections below!